
Before we start, what is a metanode? Metanodes are gray nodes that contain sub-workflows. They play the role of functions or macros in script based tools.
They look like a single node, although they can contain many nodes and even more metanodes.

Besides keeping your workflow neat and tidy, the main goal of metanodes is reusability. Indeed, if a metanode holds a self-contained logical block of nodes, it can be reused for the same task in other workflows by all colleagues in the lab (including yourself). This sharing feature of metanodes can occur via simple copy and paste or more formally by defining a metanode template.
Reusability fosters collaboration among workflow developers and facilitates workflow maintenance. A metanode can be thought of as a dedicated organized unit for a defined task that can be deployed for automation and streaming execution.
What is the Difference between a Metanode and a Wrapped Metanode?
In KNIME Analytics Platform there are two types of metanodes: simple metanodes and wrapped metanodes. Historically speaking, the simple metanode was developed first and essentially contains a sub-workflow. The wrapped metanode has evolved from the simple metanode and encapsulates complete functionality. One of the differences between a simple metanode and a wrapped metanode is that a wrapped metanode is a vacuum container of a sub-workflow. Vacuum means that flow variables do not enter and exit the metanode by default, but need to be explicitly enabled to do so. This makes the metanode environment self-contained and therefore less polluting to the parent workflow. Have a look at this video on wrapped vs simple metanodes
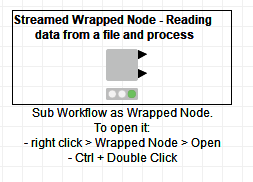
Note. To open a simple metanode, just double-click it; open a wrapped metanode via Ctrl plus double-click.
Another useful function of wrapped metanodes is the configuration window. Simple metanodes do not have a configuration window. Wrapped metanodes also do not have a configuration window by default, but can be given one. If you have one or more Quickform nodes inside the wrapped metanode, the wrapped metanode acquires a configuration dialog automatically from the configuration windows of the contained Quickform nodes. In summary, Quickform nodes and wrapped metanodes allow you to build your own node.
Similar to configuration windows, wrapped metanodes can acquire a view. By default they do not have one, but if one or more Quickform and/or Javascript nodes are inserted in the wrapped metanode, the wrapped metanode acquires an interactive view from the interactive views of the Quickforms and Javascript nodes. The same view will be available as a web page on the KNIME WebPortal. Items in the view can be arranged on a grid via the layout button in the tool menu (Figure 2).

In summary, wrapped metanodes are reusable components that can be parameterized with Quickforms and Javascript nodes.
How to Create Metanodes & Wrapped Metanodes
There are many ways.
- Select the nodes you want to put inside a metanode, right-click and select “Collapse into Metanode", et voilà the metanode is created!
- Select the nodes you want, then right-click and select “Encapsulate into Wrapped Metanode”, et voilà wrapped metanode is created!
- To pass from a simple metanode to a wrapped metanode, select the simple metanode, right-click, then select “Metanode” and then “Wrap”. Et voilà, the simple metanode has been transformed into a wrapped metanode!
In summary, wrapped metanodes are reusable components that can be parameterized with Quickforms and Javascript nodes.
How to Create a Metanode Template
A metanode is made to be shared. And the recommended way to share a metanode is via a metanode template. Your metanode can become a metanode template and reside in a special folder in your workspace or on a KNIME Server to be reused.
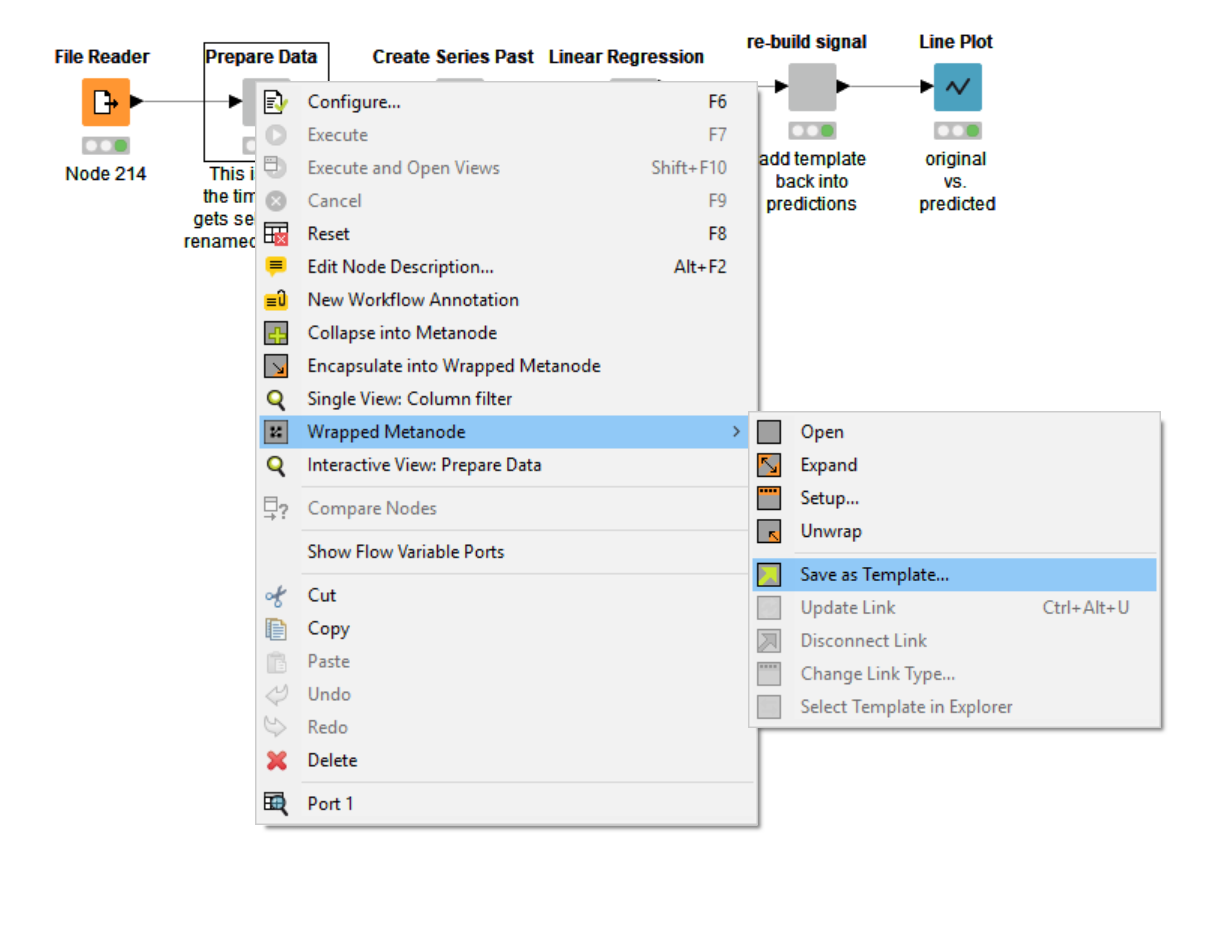
You can create a metanode template, by right-clicking the metanode and selecting “Wrapped Metanode” (or “Metanode”) -> “Save as Template”. In the next step, you need to indicate where to save your template (locally or on a KNIME server). This automatically creates a metanode template in the desired location. At some point in the next few days or weeks, you or one of your colleagues might want to reuse this great template you have created.
Adding Permissions to the Metanode Template
To avoid accidental editing of metanode templates, if the metanode template is saved on KNIME Server, you can assign access rights.
All kinds of items on KNIME Server can be assigned permissions, e.g. workflows, workflow groups, data files, and metanode templates.
The owner creates the item and has the rights to change the permissions on that item. Users are assigned to user groups (departments, research groups, etc.). Server administrators are users who have been assigned to the “administration group”. They can also change the owners and permissions of the metanode template.
How to assign permissions to the metanode template:
- Upload the metanode template to the server
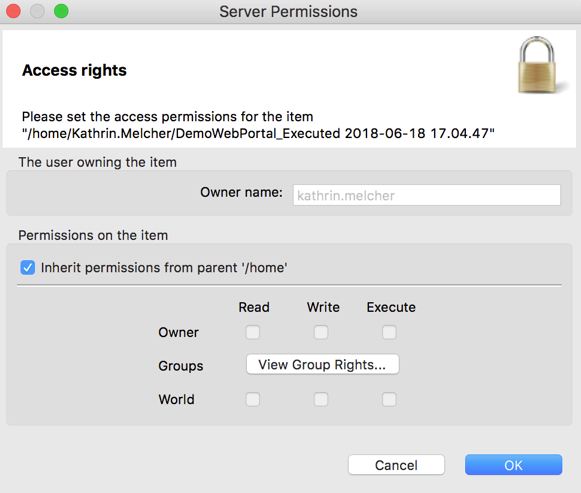
- Right click the metanode template in the KNIME Explorer and select “Permissions…”
- Set the read, write and execute permissions for the owner, different groups or the world (e.g. everyone)
How to Reuse a Metanode Template
To create a linked metanode from the metanode template, just drag and drop the metanode template from its location on the KNIME Server or in the local workspace into your workflow. This generates a linked metanode.
A linked metanode is a read-only copy of the original template metanode. You can recognize linked metanodes by the little green arrow in the lower left corner.
As long as a metanode is linked to the original template, every time you open the workflow, you will be asked to check for updates in the metanode template.
Detaching the Linked Metanode from the Template
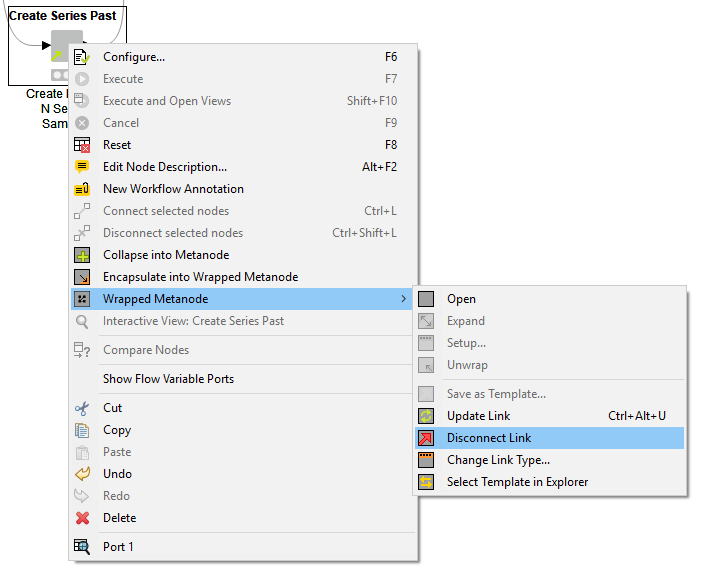
You can detach your linked metanode from the original template at any time, by right-clicking and selecting “Wrapped Metanode” -> ”Disconnect Link”. Once detached, your linked metanode is essentially its own node; it becomes a read/write copy of the original metanode.
Edit an Existing Metanode Template
As stated above, linked metanodes are read-only instances of metanode templates. To edit a metanode template, you first need to drag it into a workflow, and then detach it (right-click and select “Wrapped Metanode” then ”Disconnect Link”). Next, change the metanode as needed (add new nodes, change configurations, etc.). Once you're done, you need to save the metanode as a template again, this time overwriting the old template in your repository. Since you create a link when saving, all workflows that used the old template can be updated with the newer version upon opening them.
Useful Advice when Dealing with Metanode Templates
I often deal with retrieving content from internal databases. So, I had to go through several iterations to improve the repeatability of my metanodes. Here are my lessons learned.
They all refer to a specific example, showing a series of text documents with associated chemical compound identifiers. The identifier is used to retrieve the chemical compound structures from PubChem as SMILES via PUG, a RESTful API.
Consistent and Generic Column Names
When you create such metanode templates for reuse within the organization, it’s a good idea to make sure you use consistent column names and document them in the metanode description or in the form of annotations over the metanode content. For example, a general name “column” would work better than “temporary example column by Baddeley” or “tmp_col_mol_xyz”. How likely is it that your colleagues will follow your naming standards?
Meaningful Labeling of the Metanode
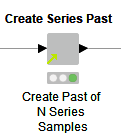
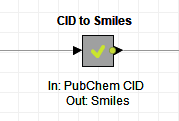
- Call out what the metanode does in its title. If the metanode transforms CID structures to smile structures, then let’s write exactly that. It will be easier for your colleagues to reuse the node if they quickly understand what it does.
- If you are connecting to a KNIME server, specify in the node comment, exactly which server you are connecting to.
- Specify the names of the required input column and also what the output is in the node comment. Here in the example above, the input column is “PubChem CID” and the output is “Smiles”.
Inside the Metanode
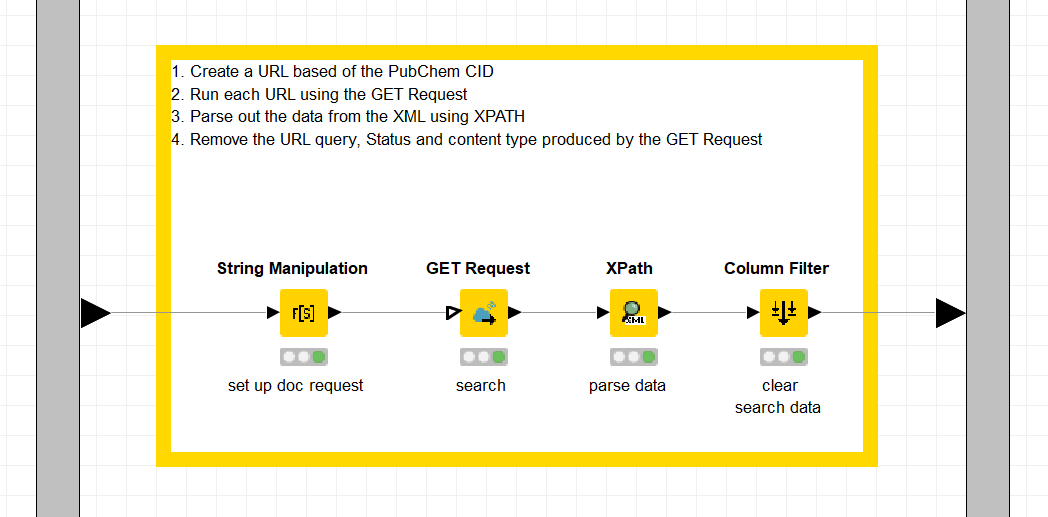
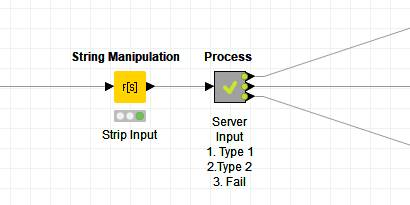
- Document the metanode thoroughly. Add annotations and node comments that will facilitate quick understanding of the process. Here in this example below, the process involves setting up the search request in the Search column based on the PUG REST request and the CID value, pulling the data via the GET Request node, parsing the data, and then filtering out unneeded columns.
- You can add an annotation by right-clicking anywhere in your workflow edit and select “New Workflow Annotation”.
- You can add a node comment by double clicking underneath the node. In the example below each part of the process is documented in the node comment: set up doc request, search, parse data and finally clear search data.
Check out this video on how to create annotation notes and node comments!
- Optimize the content of the metanode. Consider whether this workflow will be running on a slow or fast machine, think about potential traffic to the REST service, or on the Internet, and make adjustments to your process to ensure it runs optimally, e.g. using flow variables.
- Ensure all of the parameters fit all types of computers, and set up a dedicated output to report on query fails.
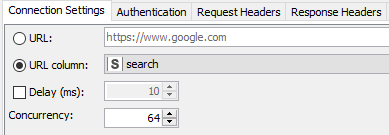
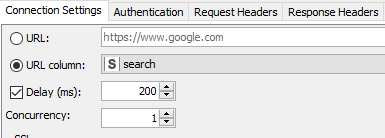
Author’s note: Some of the things I did to optimize this particular workflow was to increase the concurrency when using the GET Request node. The service seems to max out at around 64 on my laptop (see Fig 8a). The problem was fixed by observing a 200 millisecond delay between calls as requested for the PUG REST access from NCBI (Fig. 8b).
Note. When dealing with failures, I usually create a dedicated output from the metanode to report on query failures.
Conclusion
We hope that you can see how useful metanodes and wrapped metanodes can be. Not just for organizing logical chunks of your workflow and grouping them, with a descriptive title and description, but also for sharing functional units with colleagues. So, if you haven’t already, then we hope you enjoy trying out (wrapped) metanodes now.
Resources:
EXAMPLES Server
EXAMPLES/06_Control_Structures/01_Meta_Nodes_and_Wrapped_Nodes/01_Simple_Streaming_and_Wrapped_Nodes